BUILDING THE MEGALODON SHARK JAW ROCKET
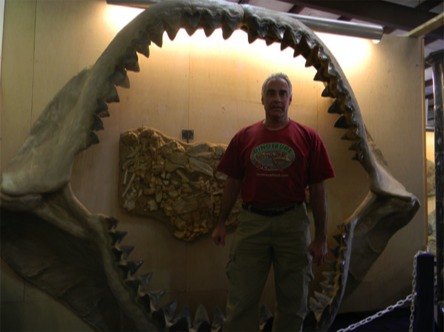
Inspired by the real Meg Jaw I stood in at the Tucson, AZ Fossil Mineral Show There used to be a company called BC Bones that originally made this but they have been out of business for years and I had this model sitting around for years. What a great excuse to make a cool rocket out of this!!
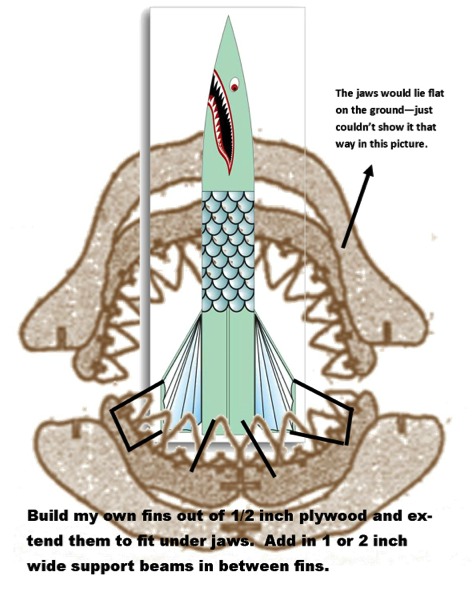
Above is the original plans I put on paper to truly visualize what I wanted to do.
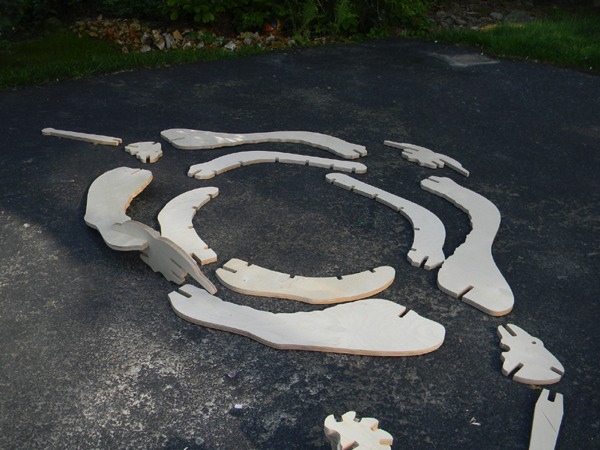
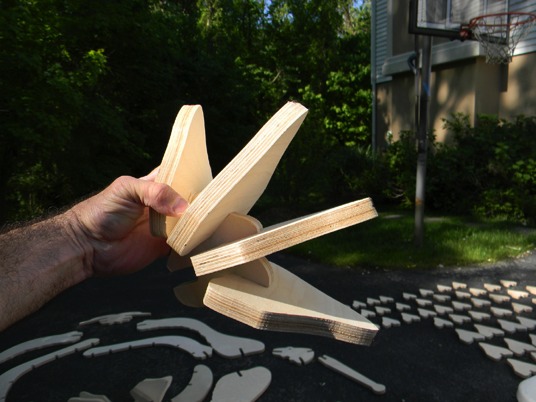
All pieces laid out and ready for assembly. Cut from 1-inch thick plywood.
Set of teeth completed
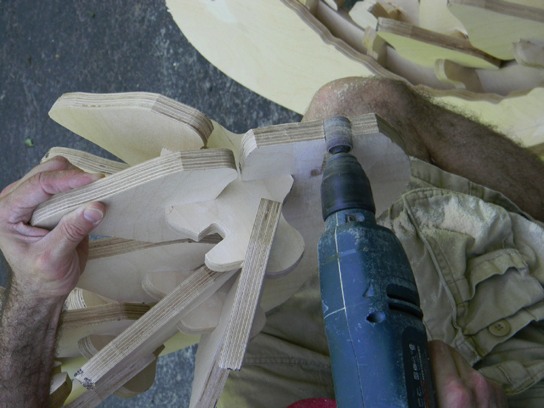
Attaching 1 set of lower jaw teeth
Preparing other set of teeth
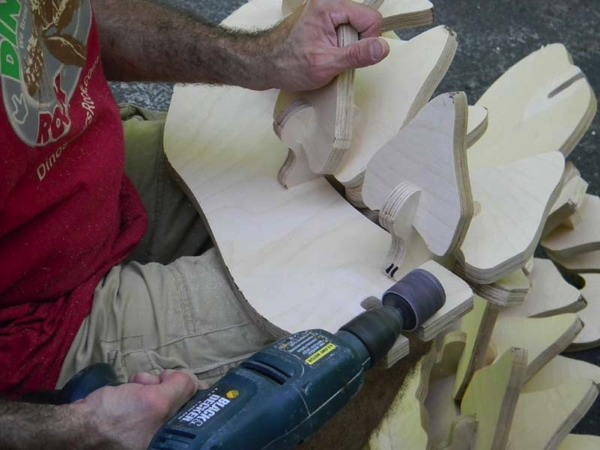
Preparing other set of teeth - digging in the grooves.
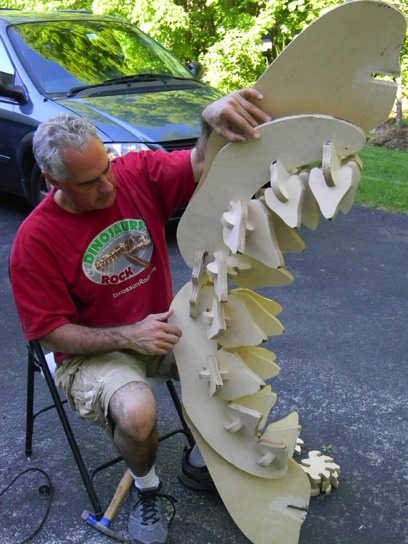
Attaching 2nd set of lower jaw teeth
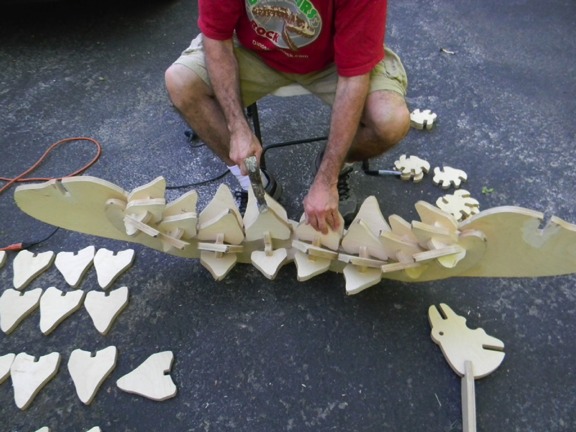
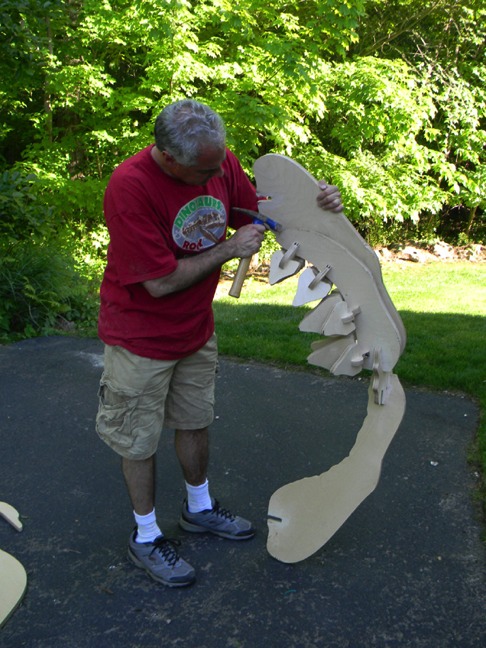
Hammering teeth in place
Lower jaw completed This part now needs to be epoxied - thinking dark brown teeth with lighter brown for jaw for eventual realistic paint scheme.
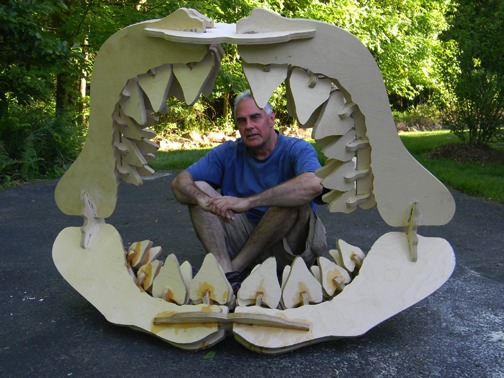
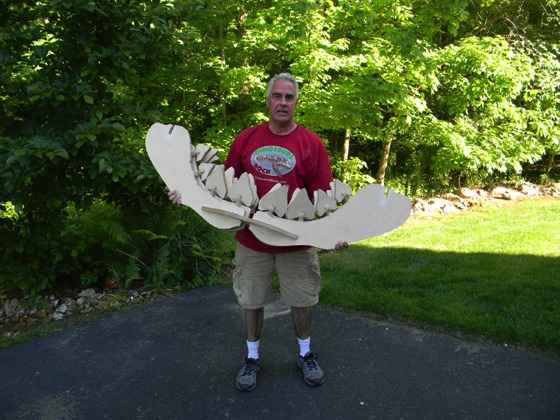
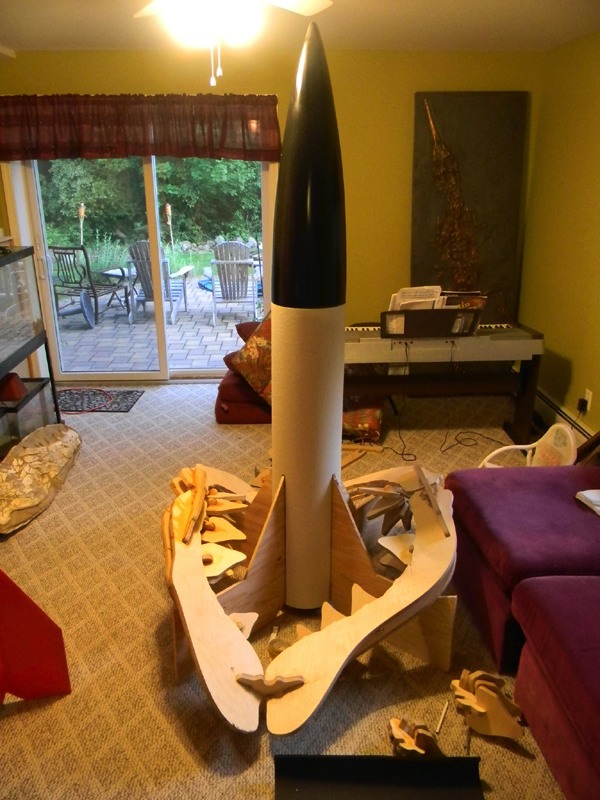
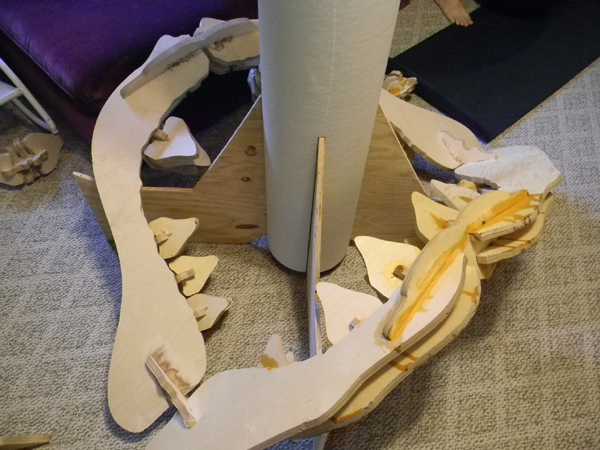
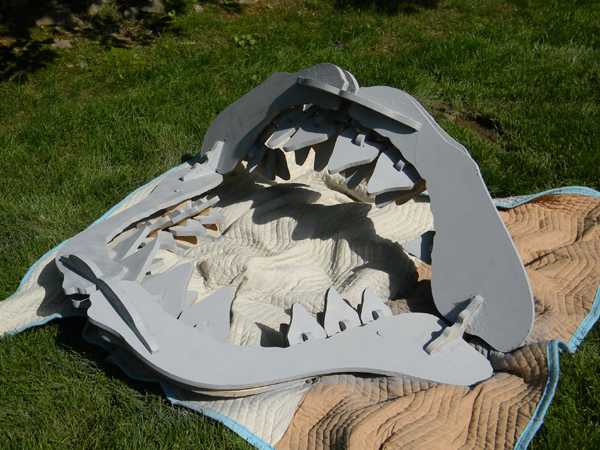
Following day - a lot of progress. Basic components of the jaw are completed.
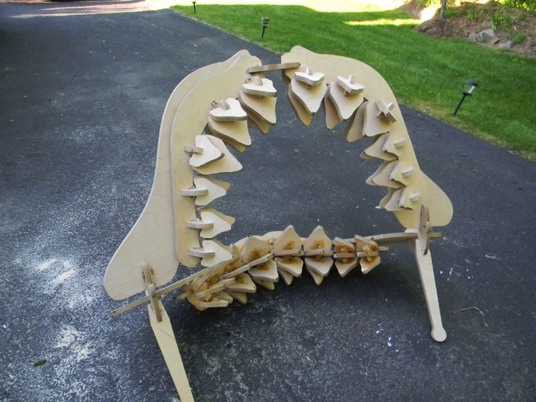
Rear view of Megalodon Shark Jaw.
Building the Booster Section. The original rocket was the Polecat Thumper that was completely redesigned to fit this "Odd Rocket".
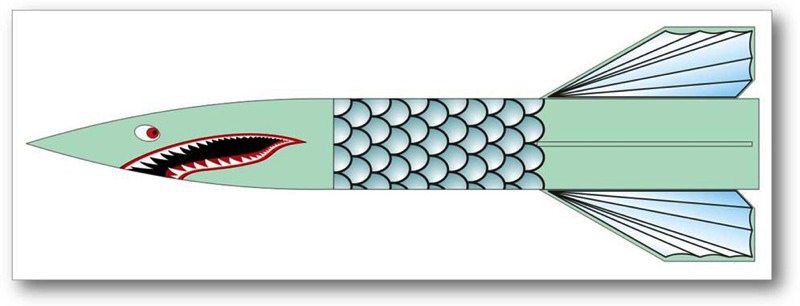
Decals by Dave Rose
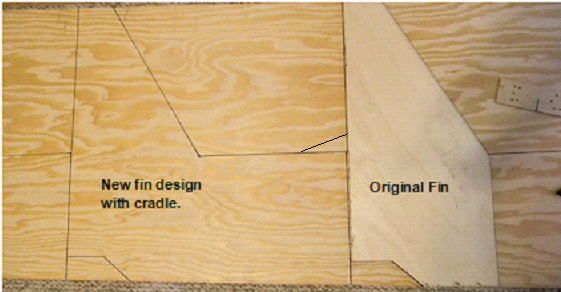
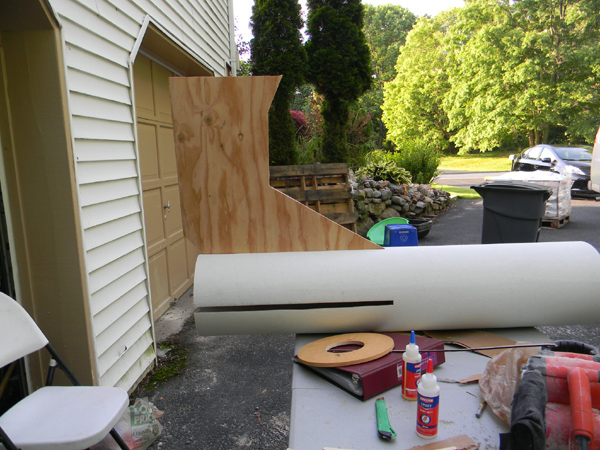
The biggest problem I encountered with the build of this rocket was how was I going to attach the huge Meg Jaws to the rocket itself. I designed an extended fin from the original Polecat Aerospace Thumper design. Pictured below is the original fin next to the new outline of the new fin. 1/2 inch plywood was used for the new fin.
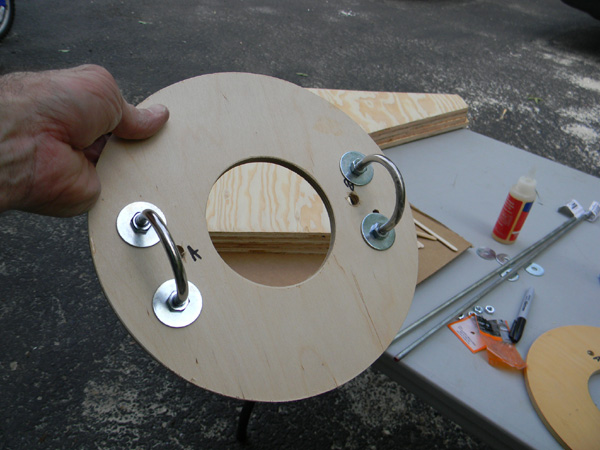
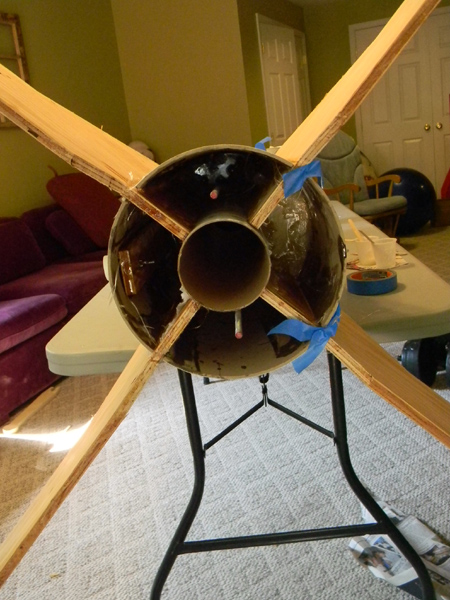
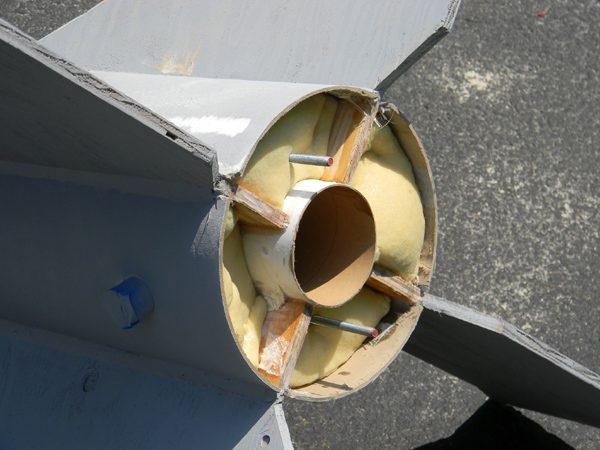
Before we attach the fins we have to build up the motor tube with centering rings, u-bolts and threaded rods.
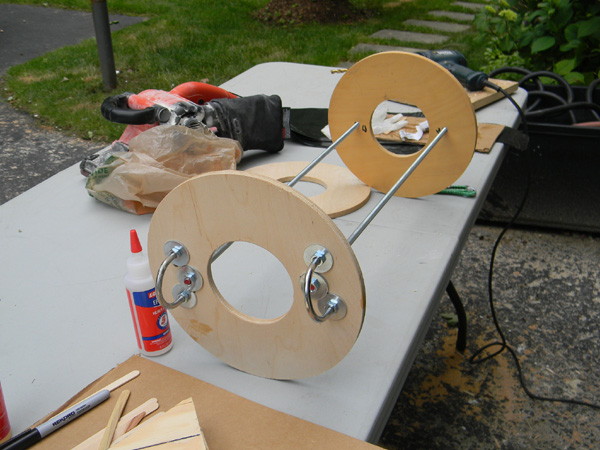
Above - threaded rods attached to Centering Rings.
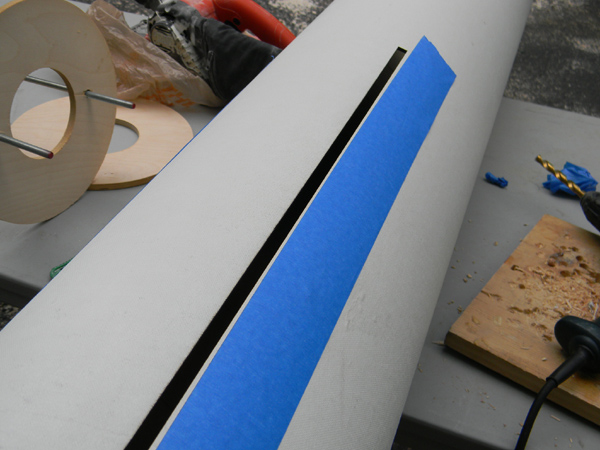
The fin slots need to be widened to fit the 1/2 inch plywood fins.
First fin is attached with epoxy.
Second fin is attached.
Third fin is attached.
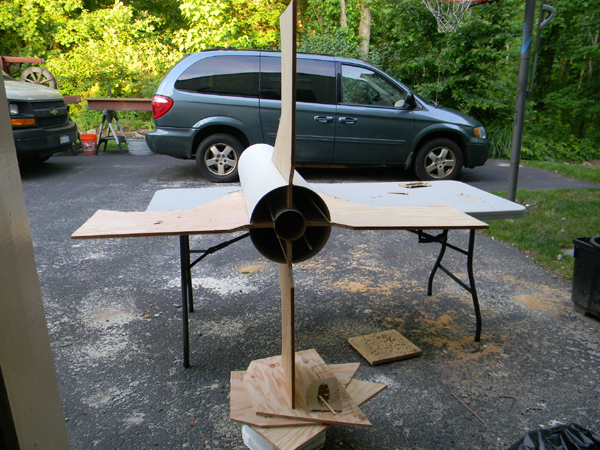
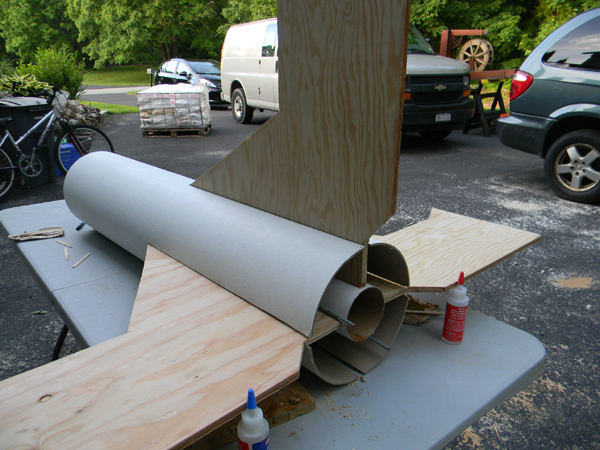
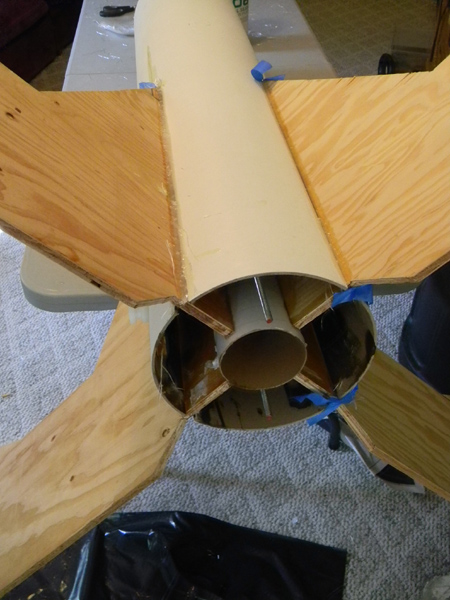
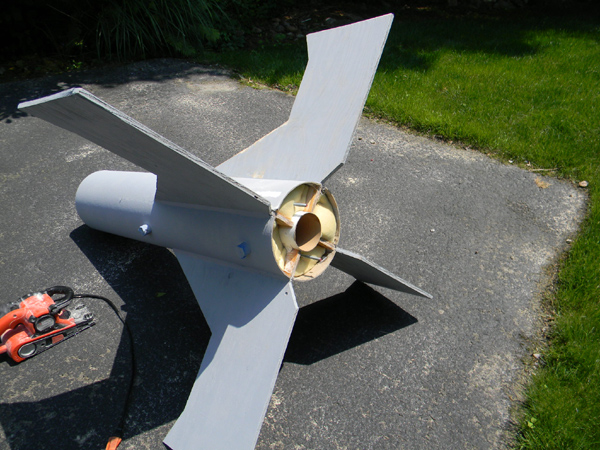
All four fins now attached.
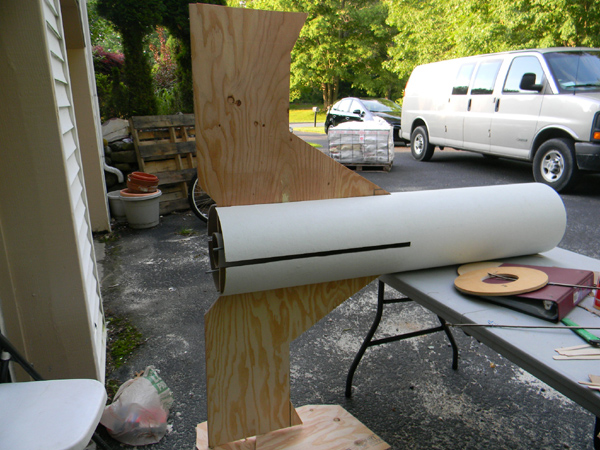
OK - the first test - the Meg Jaws now resting on the attached fins.
Close-up of fins used as a cradle.
Fin fillets are applied.
Just after fins fiberglassed to motor tube.
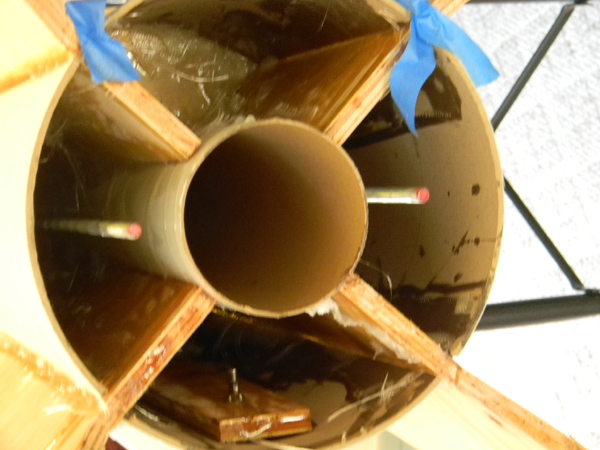
Interior of airframe where the motor tube, unistrut rail button base and fins were fiberglassed using West Systems Epoxy.
First coat of "primer" paint.
Sanded down rocket after primer. See movie below for "Mega-Foam". On any of my larger rocket I recommend you use "Mega-Foam" as it strengthens the entire aft section literally making it one solid section.
Going to work on the aft section next.
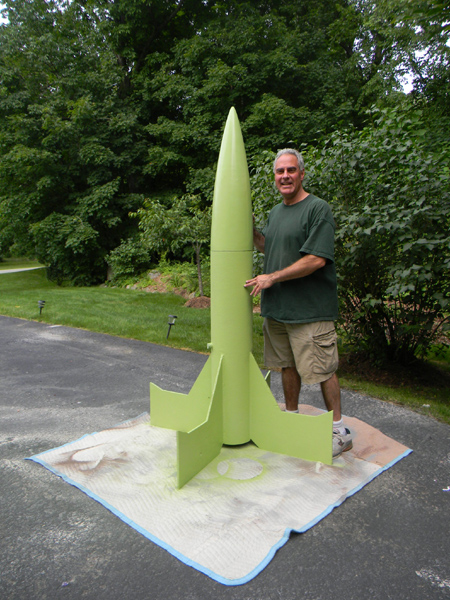
Happy that I finally painted the booster. (5 coats of paint)
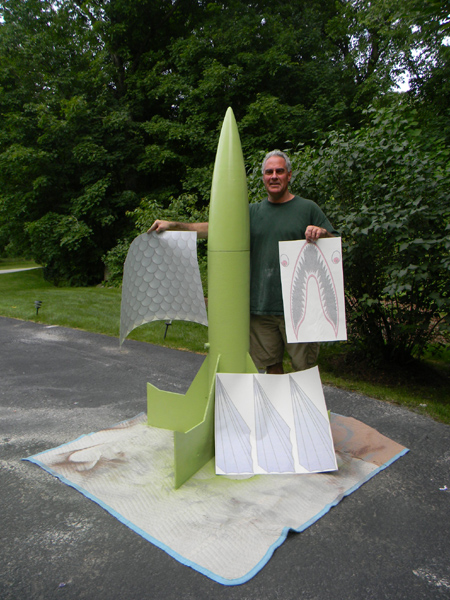
Fish decals created by Dave Rose ready to be applied.
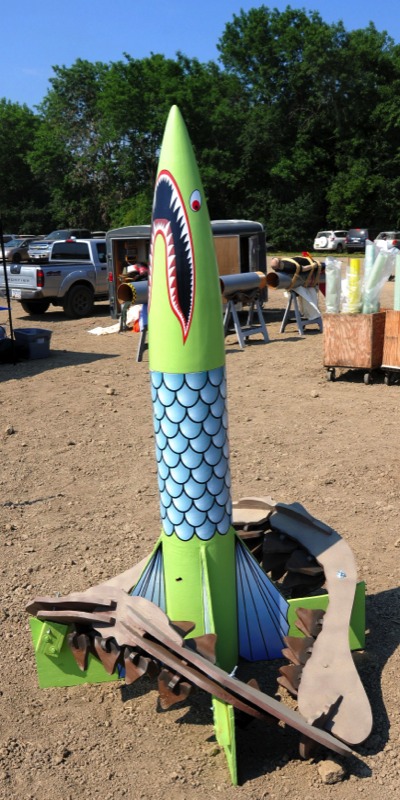
The finished Megalodon Shark Jaw Rocket sitting on display at LDRS 31.
Build Movies